How to turn street art into a stunning t-shirt
If you’re like us and love street art, or are involved in creating it then you’ll love this simple guide about how to use your phone to take a snap of a piece of street art and place it on a t-shirt to create a unique piece.
Note on copyright: If you’re the creator of a piece of street art or have the permission of the creator then go ahead but if you have stumbled on a piece of artwork then it’s best to track down the creator and either purchase their official streetwear or ask their permission to make a derivative work, even if it’s just for personal use. Definitely don’t run out and make 200 of them to sell at your local market.
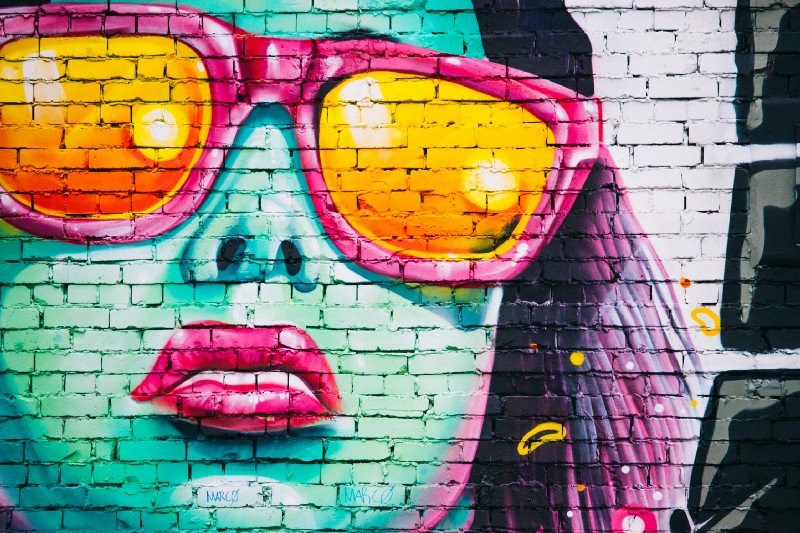
A Basic Look at the Ethics and Rules for Photographing Graffiti
Back in university, in an early morning class, a lecturer held up a large photograph and asked, "What could be wrong…digital-photography-school.com
Disclaimer: We used a piece of artwork marking the Carnation Revolution from the Alfama district of Lisbon of which we are not sure of the designer. The design and t-shirt we made were only used for this story. If you can identify the designer or are the designer we’d be happy to update the article with full attribution.
What do I need?
We’re going to use two apps to transfer your street art onto a t-shirt or garment of your choice. The oShirt app and Snapseed (search the app store) by Google both are available on iOS/Android.
oShirt is a t-shirt designer app for your phone or tablet that helps you create amazing designs that normally require design skills. It is full of fonts, shapes and images that can be used in your design and when you’re done you can order straight from the app. No need to deal with garment specs, print shops or minimum order requirements. Buy one or one hundred tees.
Snap seed is an advanced image manipulation tool for your phone. We will use it for some of the fine adjustment on photos that oShirt won’t do.
You can also follow this tutorial using Photoshop or similar tools but most steps are will take longer and you will need to scour the internet to use the fonts, shapes and images used in the tutorial.
Let’s start
Find your subject and take your photo
You may have a particular piece in mind or you may be going through photos you already have but here’s some tips to keep in mind.
- Make sure the subject is clear of obstacles such as cars, people, animals and even things such as lamp posts or fire hydrants can get in the way. For the things that can’t move you may need to use a not so perfect angle but we’re going to show you how you can adjust for that later.
- Try to place yourself in the center of the artwork both horizontally which is usually easy and vertically which is usually harder. Often artworks are placed on the sides of multi-storey buildings. This isn’t a problem as we’ll go through how to correct perspective distortion later on
- Move as close as you can without losing any part of the subject
- Try to take photos vertically where possible as the printing area on t-shirts is always taller than wide. If your subject is wide then it can’t be helped.
Snap away, it’s always best to take as many photos as possible and try a few different positions.
Prep your photo
We’re going to use a particularly tricky photo that we took in the Alfama District in Lisbon, Portugal. The Portuguese, especially in Lisbon, have really embraced street art in the last decade, it started off as a way of covering up some of the poorly maintained buildings but has grown to become part of the national identity. Some cities are catching up but Lisbon is still the street art capital of the world. There are parts of the city that you can barely turn around in without catching a glimpse of something.
Here’s ours:
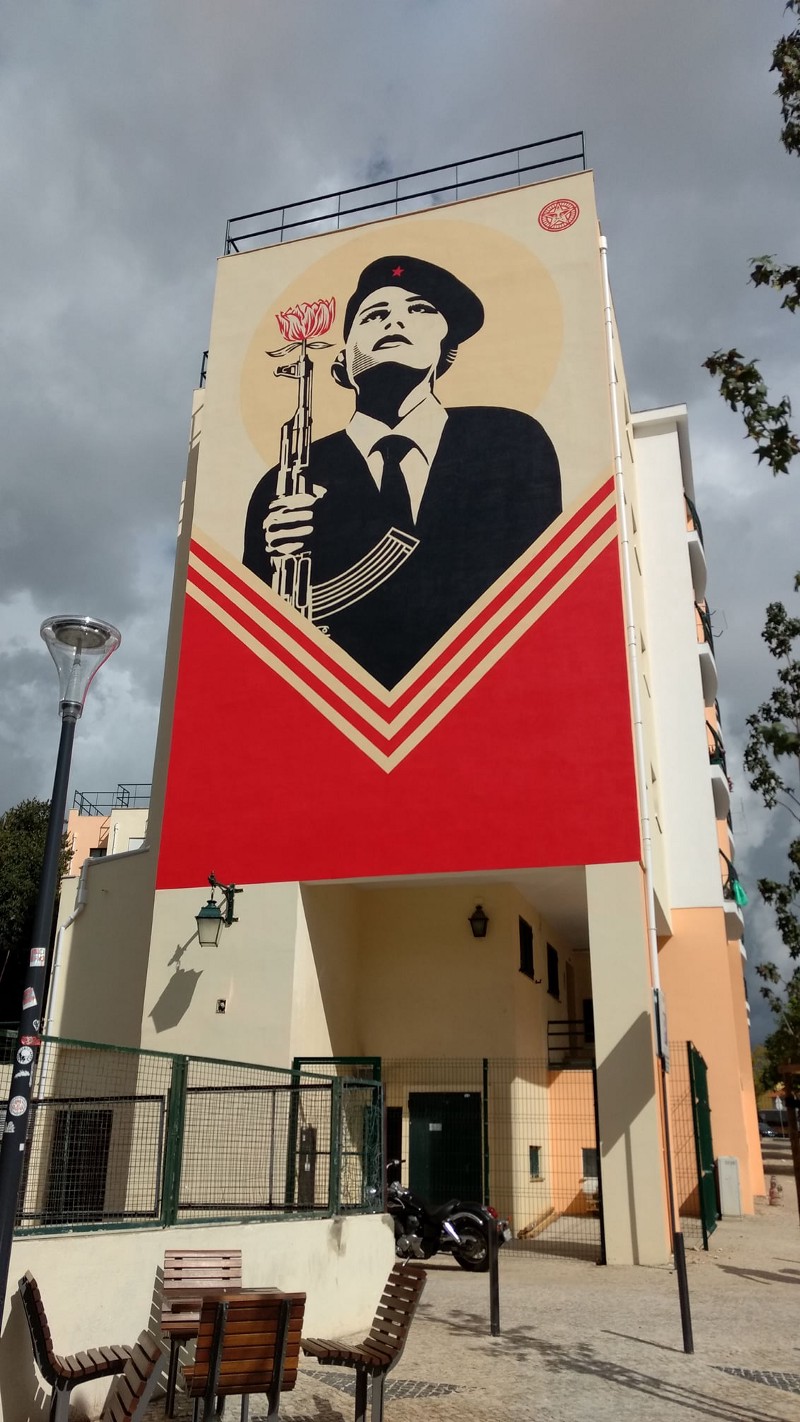
You will see a lot of street art recalling the Carnation Revolution which was a military coupe that took place in 1974 that saw the peaceful removal of the dictatorship. During the coupe the people of Lisbon took to the streets and decorated the soldiers and tanks with carnation flowers.
It’s almost impossible to get to a vantage point to take a photo of this piece that is head on so we’re going to use Snapseed’s photo touch up capabilities to make it look as if it was taken straight on. So make sure you have installed Snapseed on your phone to follow these next steps.
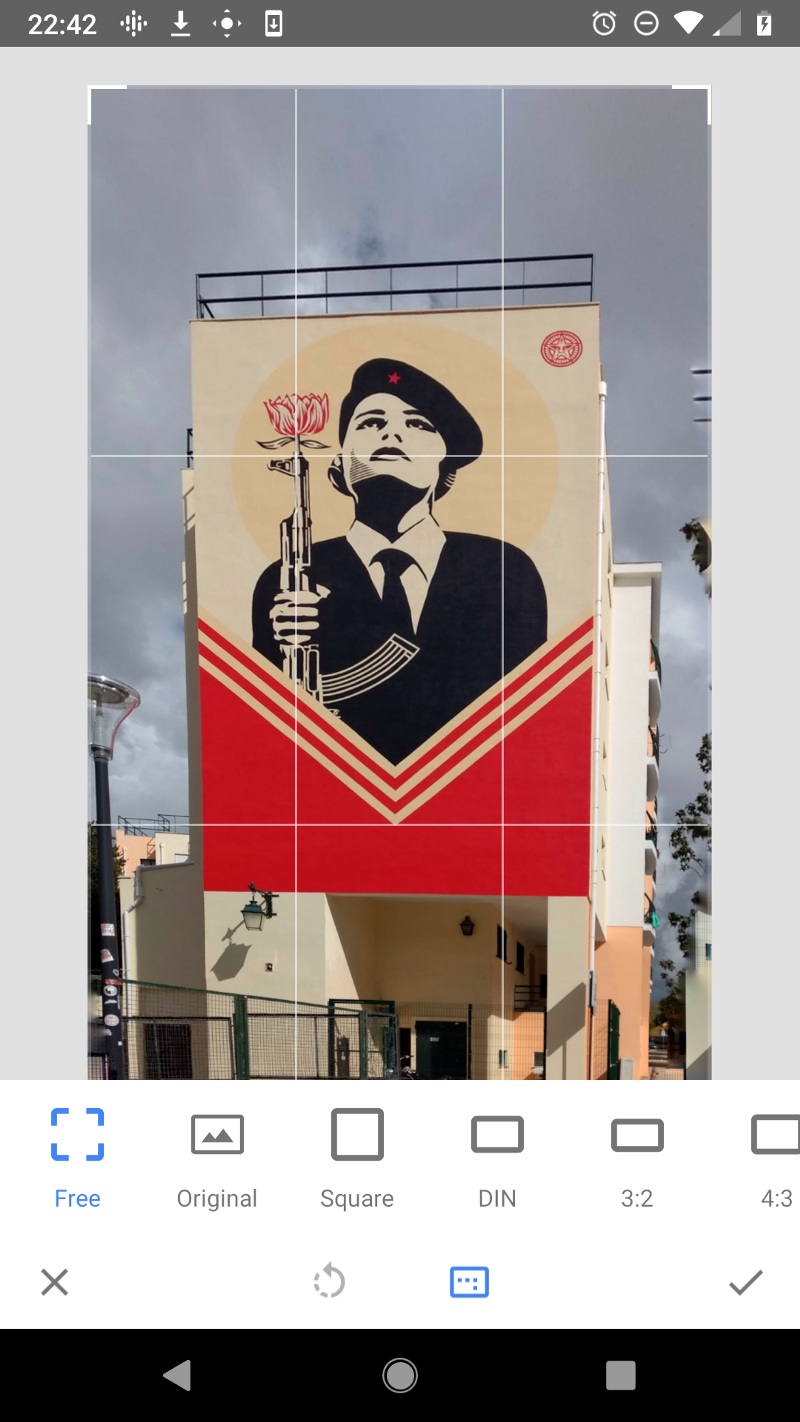
Correct perspective
First off, open your photo in Snapseed then select the tools button. The tool we want is the perspective tool. It has some sub-options you can use. In our case we need to tilt the photo forward a bit and drag it to the right. This is like us virtually walking to the left a bit and floating up into the sky to get the mural front on.
At this point it’s not perfect so we use the free-hand tool to drag the sides out a little. Unfortunately there’s no right way of using these tools so it takes a little trial and error but if we can make this photo look ok then you can perspective correct almost anything.
If it’s sounding daunting just remember that this is about as hard as it gets. If you managed to take a photo of a mural that is at street level straight on then it may only need to tilt it forward slightly. Finding a line and trying to straighten that line vertically is what you are aiming to do.
Crop
Now you want to crop any parts off the image that you don’t want in your tee print. If you can keep a 3/4 aspect ratio (width is 3/4 of the height) at this point it will fit better on the garment. Don’t get this mixed up with 4/3 which Snapseed offers, it is wider than tall.
If you’re happy with the result export your image from Snapseed, otherwise keep adjusting until you are. It can take a few tries to get a perfect image.
Place on t-shirt
Open up the oShirt app and create a new garment. Tees and hoodies lend themselves really well to street art but there are also sweats, youth clothing and even baby onesies available.
Tap the photo button and choose “from gallery” to open your existing export from Snapseed. The app should do a pretty good job of placing and scaling your photo automatically but you may want to adjust it. You can even add some text to personalize your design further.
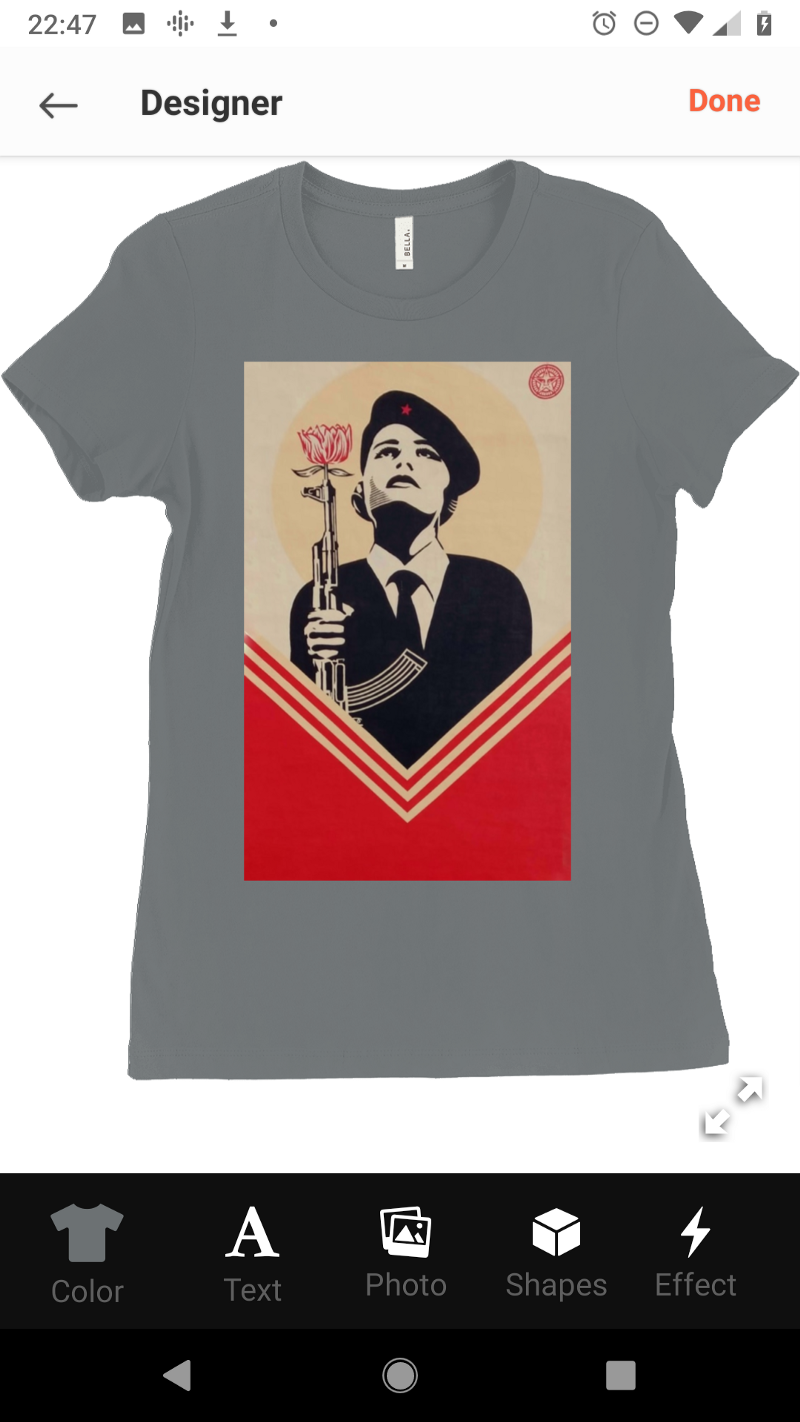
Don’t forget to choose a garment color as well. To do this make sure nothing is selected by tapping off the garment and choose the color garment icon. Most garments come in a large variety of colors but we think black, white or a nice heather (the speckled look you get in often gray shirt) look best.
You can click done in the app and choose a size before adding it to your cart. The app also lets you share your design with the community.. To do that there’s a publish design toggle on the same screen. You can also share links to designs to your social media accounts. Great for an artist to get started distributing their work.
The result
This is one we made earlier. As you can see we also removed some of the background of the image using another tool but it wasn’t necessary nor should it be for most street art.
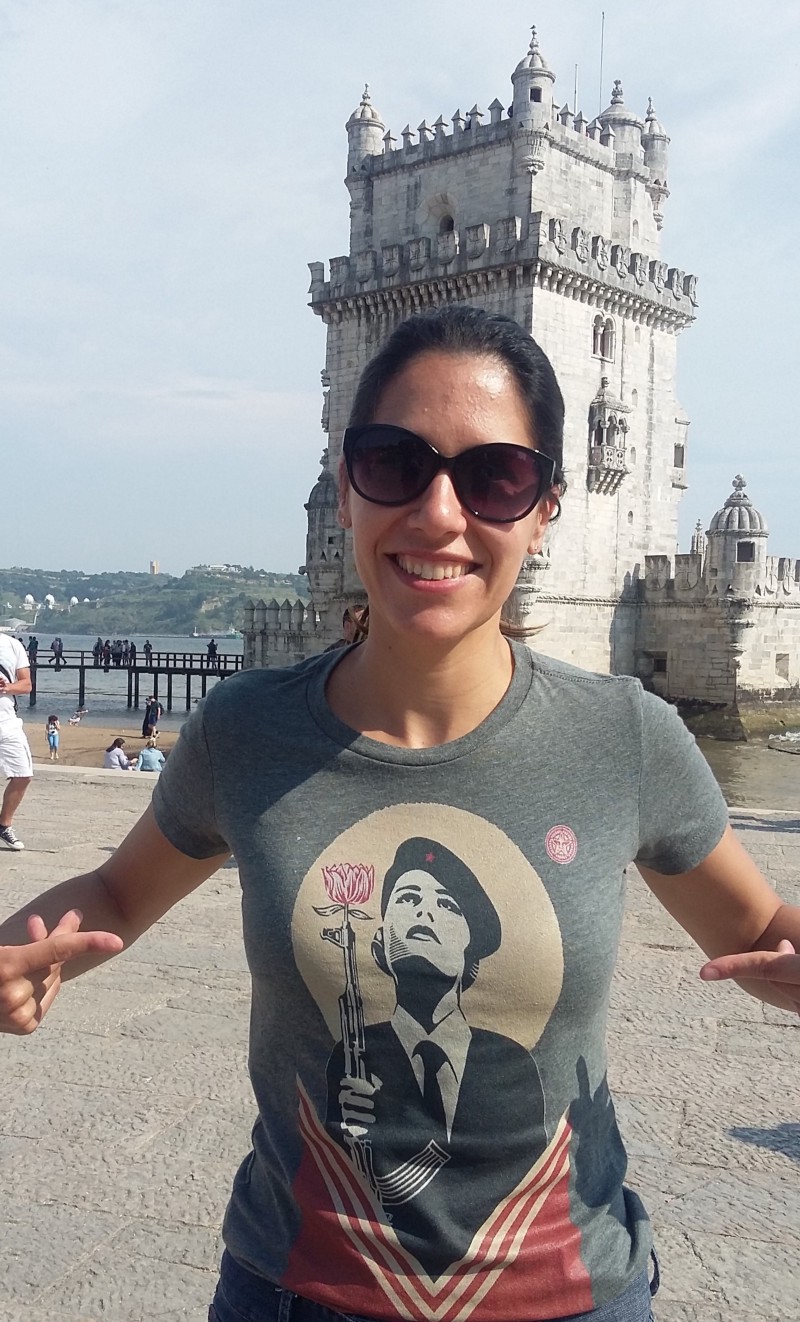
The building in the background is the Belem Tower on the Tagus river. It served as both a defensive position and the symbolic gateway to Lisbon.
I hope this has inspired you to go out there and start making t-shirts. What other type of t-shirt design would you like to see us tackle next? Leave a comment below.
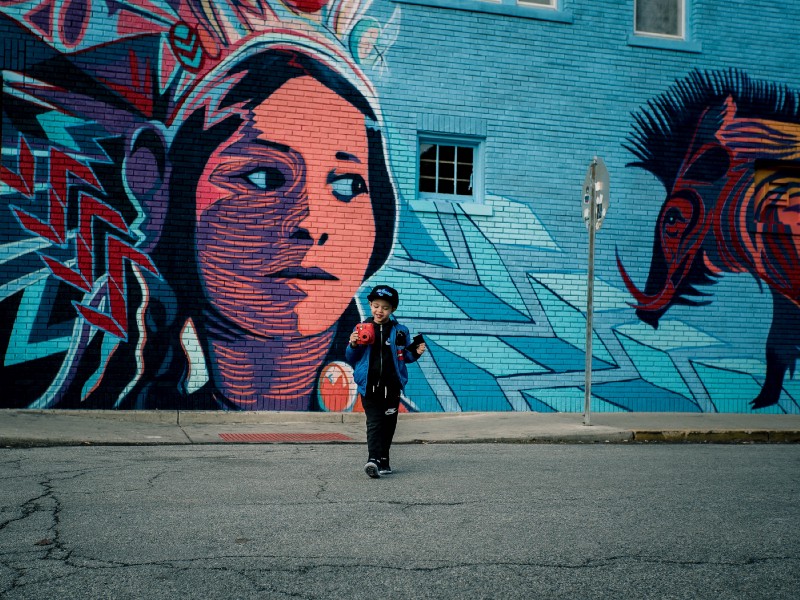
Street art photography tips for your iPhone and Android
Street art photography tips to prepare, capture and edit stunning, aesthetically pleasing graffiti images that pop…smartphonephotographytraining.com